ACT HomeCam - Subscription and Self Installation Guide
Thursday, Mar 04, 2021 · 2 minutes

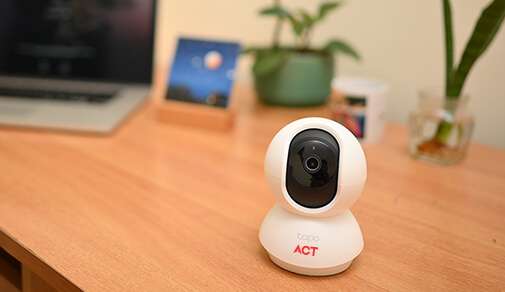
If you’ve purchased the ACT HomeCam recently, you can follow the steps below to get started with your new ACT HomeCam.
Get the Tapo app from the Apple App Store or Google Play, or by scanning the QR code below.

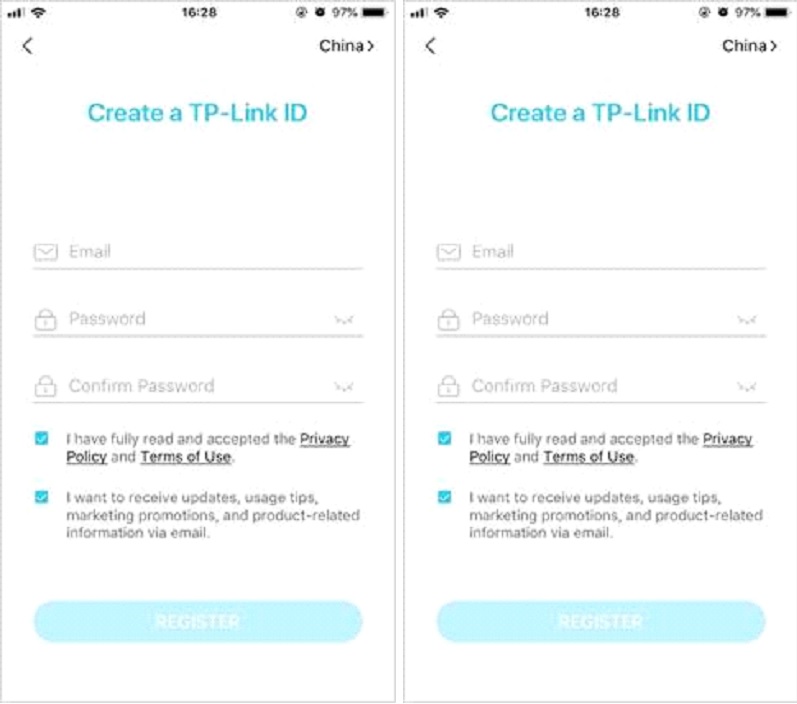
Open the app, and log in with your TP-Link ID. If you don't have an account, create one first.
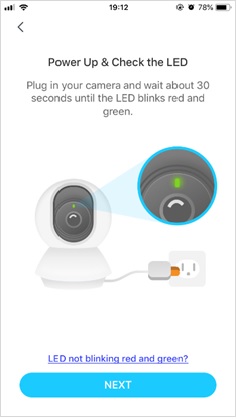
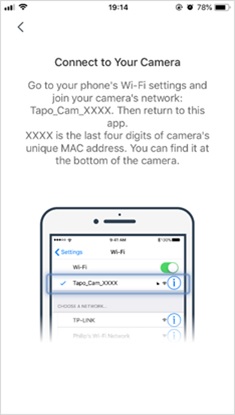
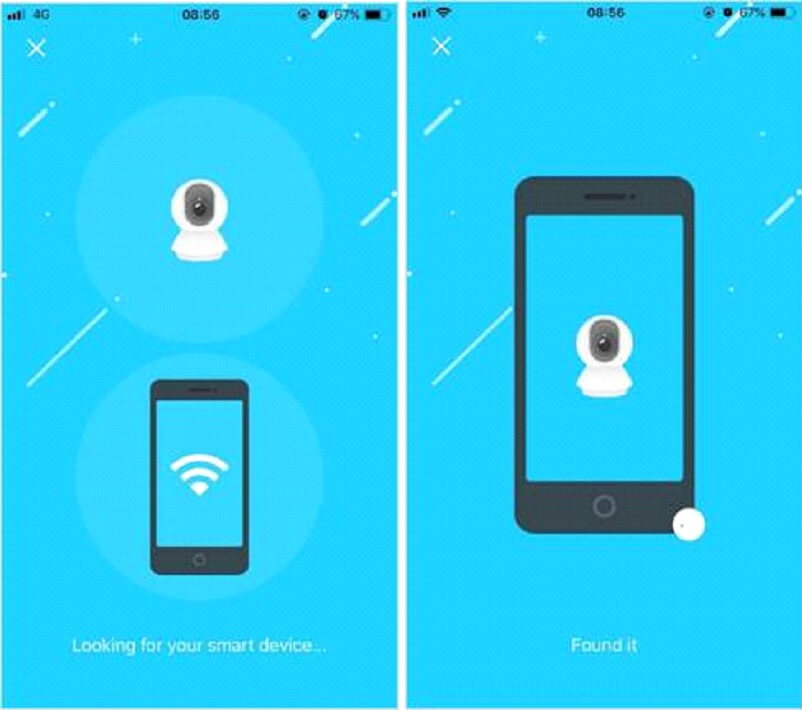
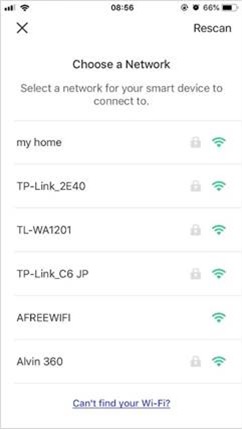
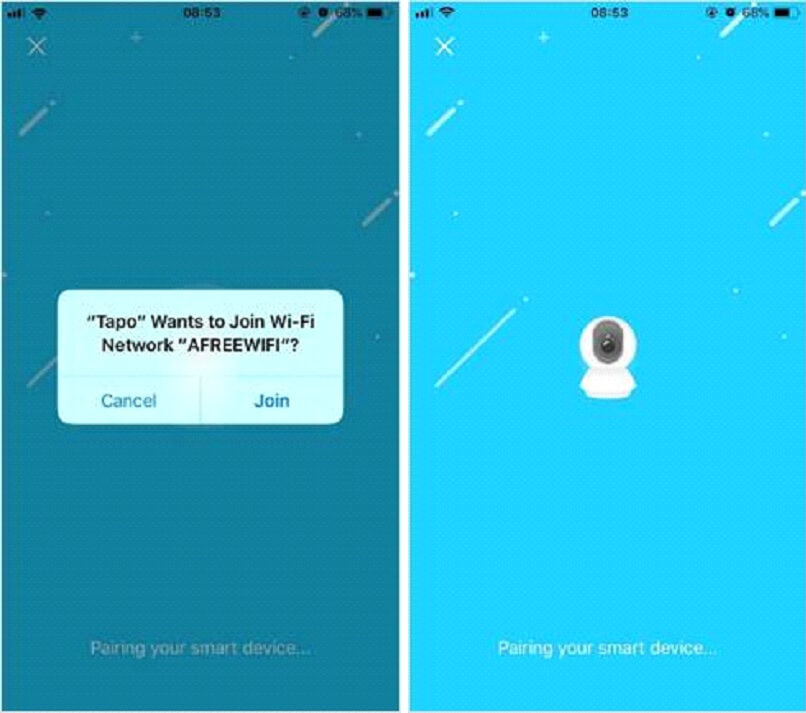
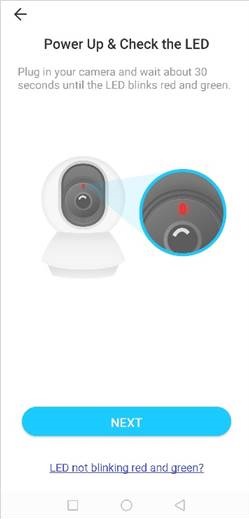
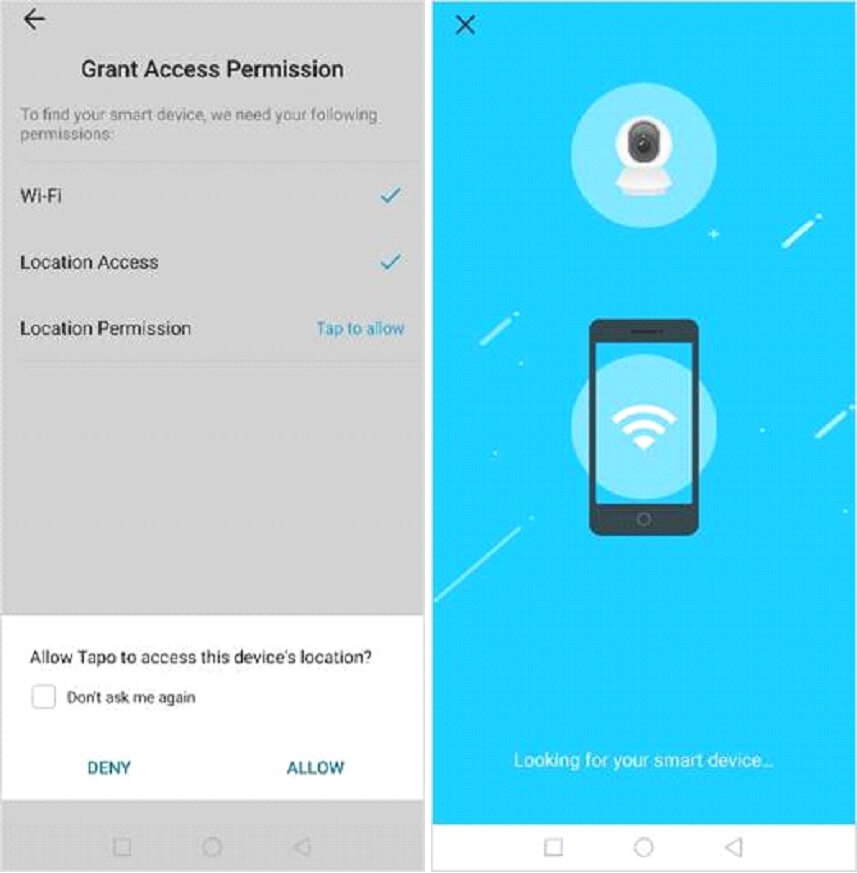
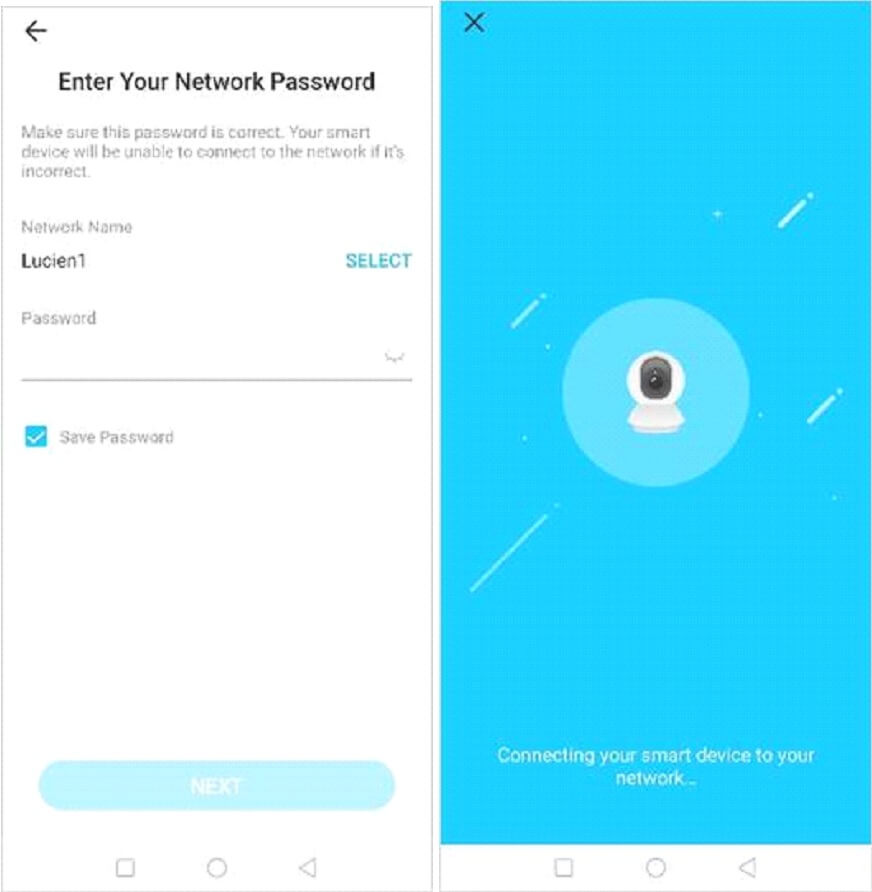
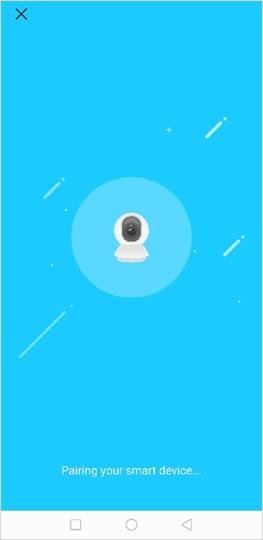
Follow the app instructions to complete the setup.
Note: The location permission is needed to find and connect to your camera during the setup. Grant the location permission when prompted and you can disable it after the setup.
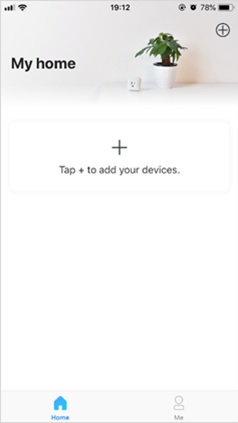
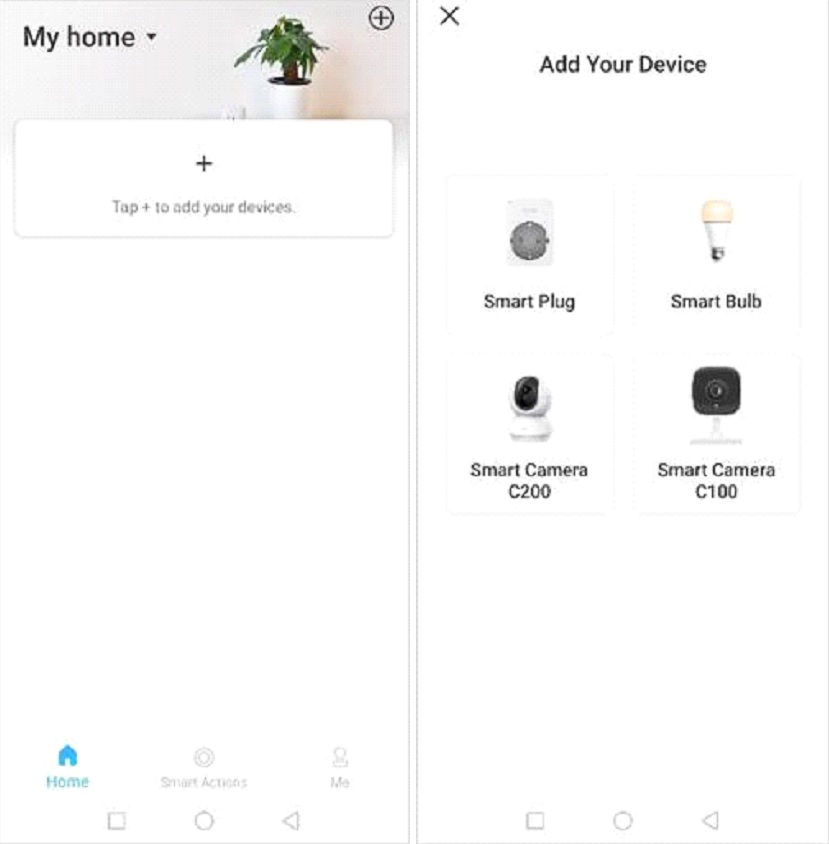
Tap the Å button in the app and select ACT Homecam.
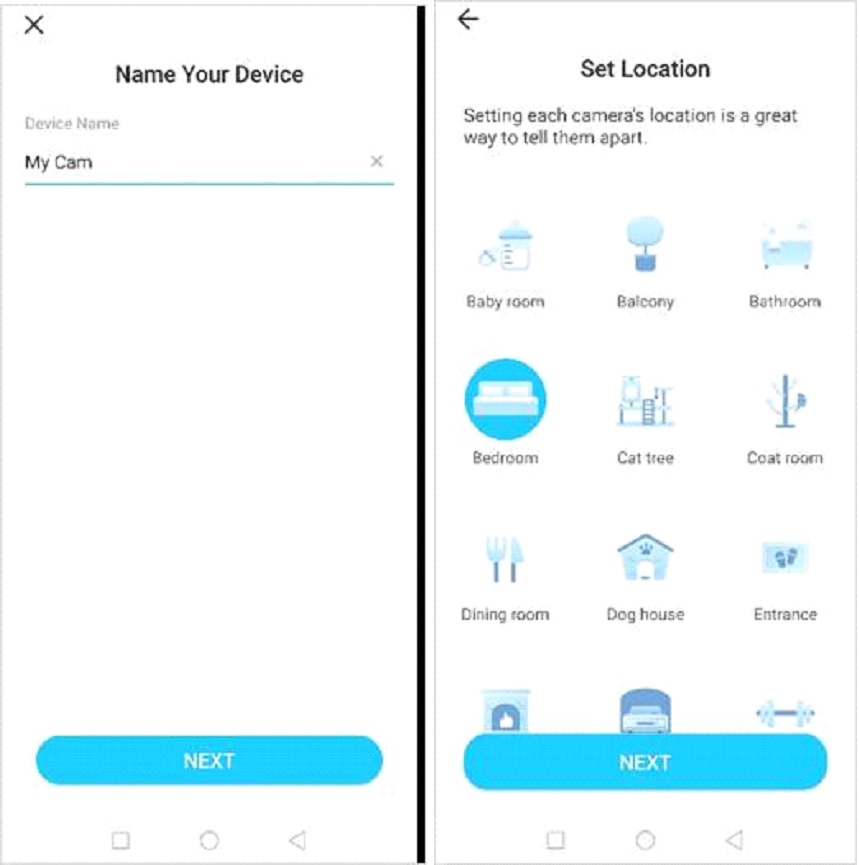
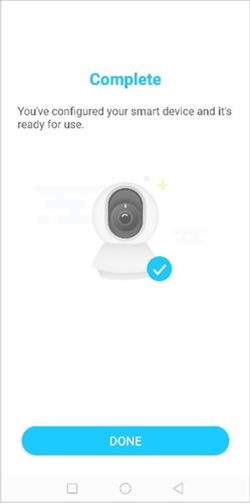
When the pairing is complete, give your camera a unique name and set a location for easy identification. Click Next to complete the setup.
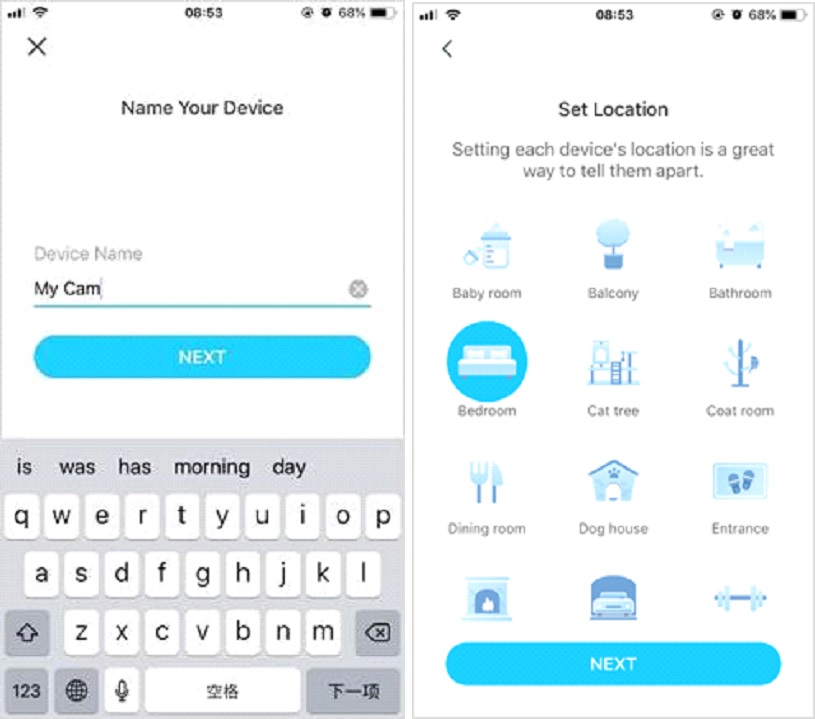
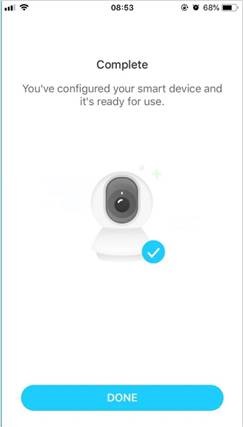
When the pairing is complete, give your camera a unique name and set a location for easy identification. Click Next to complete the setup.

Lead has been submitted successfully.
![]() Please wait while we redirect you
Please wait while we redirect you
![]() One of our representatives will reach out to you shortly
One of our representatives will reach out to you shortly
One of our representatives will reach out to your shortly
![]() Please wait while we redirect you
Please wait while we redirect you

Please enter your registered phone number to proceed
Please enter correct OTP to proceed

Dear customer you are successfully subscribed
Please wait while we redirect you
Your ACT Shield subscription has been successfully deactivated
Dear user, Your account doesn't have an active subscription
Dear customer Entertainment pack is already activated.
Please wait while we redirect you